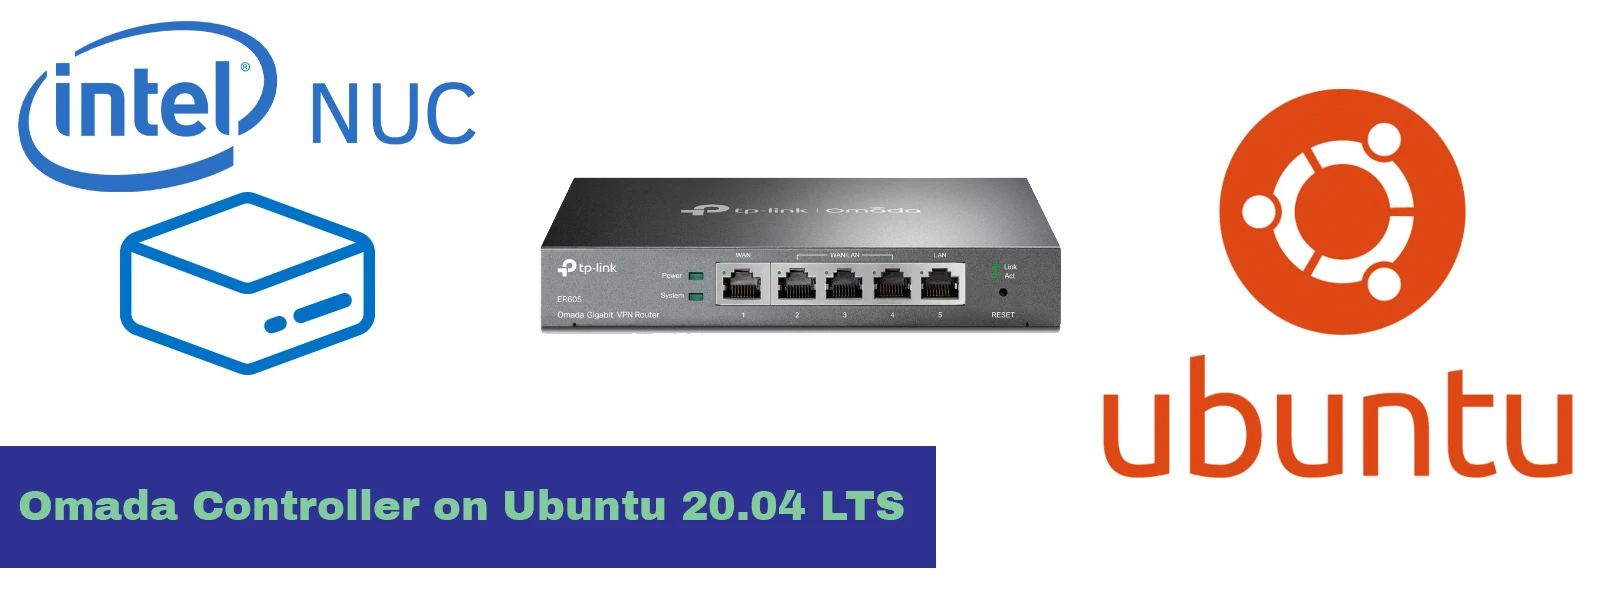
Install Omada Controller on Ubuntu 20.04
If you are looking for installation instructions for Ubuntu 22.04 or Debian 12, go to Install Omada Controller on Ubuntu 22.04 & Debian 12
Little Back Story
TP Link is pushing Omada SDN from small businesses to home offices. TP Link has range of Hardware controller, Switches, Firewalls and Access Points from relatively inexpensive to high-end. Friend of mine asked for firewall suggestion. what I suggested was Unifi from Ubiquiti. It was out his budget and he toyed with pfSense. Even though he thought it’s good learning experience, he wanted something like Unifi but cheaper, in his budget. In the same period of time I’ve stumbled upon Omada SDN from TP Link review from Tom Lawrence of Lawrence Systems. After reading ton of manuals/FAQs from TP Link & had a good 30 min call with TP Link Engineer, decided to go with Omada SDN.
Hardware
First we decided to go with OC200 Hardware Controller but pivoted to Software Solution. My friend already had 6th gen i7 NUC laying and gathering dust. TP Link recommended at least 2 cores, 4 threads for the self hosted controller. It perfect for the job and more. So, decided to install Proxmox and hit a snag. After half a day of troubleshooting, was finally able to install and later provisioned couple of VMs with 1 core and 2 Gb memory for Docker testing & 2 core 6 Gb memory for Omada Controller. Decided to leave one core and 2 gigs memory for Proxmox’s smooth operation.
Here’s are the Hardware
- Server - Intel NUC NUC6i7KYK with i7 6770HQ 4 core 8 threads
- Firewall - TL-R605, 1 WAN, 3 WAN/LAN, 1 LAN (all gigabit)
- Switch - TL-SG2210P V3.20, 8 port Gbe with POE+ 60W of Power budget & 2 SFP ports
- Access Point indoor - 2 x EAP265 HD
- Access Point Outdoor - 1 x EAP225-Outdoor
Prerequisites
For Debian systems, Omada need Java 8, MongoDB 3.0.15 to 4.0, JSVC, curl.
First run
1
2
3
sudo apt update
sudo apt upgrade -y
sudo apt autoremove -y
Install OpenJDK 8
Omada Controller is return in Java & we are using opensource Java 8 binary OpenJDK 8
1
sudo apt install openjdk-8-jre-headless -y
it should be fine but if you’ve Java already installed, you may need to set the version 8 to default.
1
sudo update-alternatives --config java
And select OpenJDK-8 option.
Install MongoDB
We’ve to be careful here. If you have fresh install of Ubuntu 20.04 and try to install from apt repository, it is fine but if you’ve added mongoDB’s PPA, it might install v4.x but Omada only supports 3.0.15 to 3.6.18. 3.0 is almost at end of the support and 3.6 is at the edge. Hoping TP upgrades it in the future. If you’ve fresh Ubuntu 20.04 amd64 install run the following to install 3.6.9 otherwise remove the PPA and try again.
Omada Controller now supports v4.x of Mongodb.
1
sudo apt install mongodb -y
After installation completed, check the status of the service by running the following
1
sudo systemctl status mongod
To check the version of the MongoDB
1
mongod --version
Install jsvc & curl
curl should be already install and Omada need jsvc. To install both run the following
1
sudo apt install curl jsvc
Install Omada Controller
TP link provides 2 type installers. Debian package and tar.gz archive. Both are pretty much straight forward. Go to TP Link website Omada Controller Download Page.
Install from tar.gz
Download the tar.gz. 5.6.3 is latest version as of writing this. Replace the URL with latest one.
1
wget https://static.tp-link.com/upload/software/2022/202210/20221024/Omada_SDN_Controller_v5.6.3_Linux_x64.tar.gz
Extract the archive & Navigate to the directory
1
2
3
mkdir omada
tar -xvzf Omada_SDN_Controller_v5.6.3_Linux_x64.tar.gz -C omada
cd omada
Make install script install.sh executable.
1
sudo chmod +x install.sh
Install the controller with the following
1
sudo ./install.sh
To uninstall Omada Controller
1
sudo ./uninstall.sh
Install from .deb
Download the deb package from TP Link
1
wget https://static.tp-link.com/upload/software/2022/202210/20221024/Omada_SDN_Controller_v5.6.3_Linux_x64.deb
Install with the following
1
sudo dpkg -i Omada_SDN_Controller_v5.6.3_Linux_x64.deb
To uninstall
1
sudo apt remove omadac
It might take 2 to 5 min depending upon your system configuration. Once the installation completed, visit https://ip:8088
Conclusion
Installation is simple and straight forward. let’s setup the controller and add router, APs and configure the network next weeks. Any help needed, hit me on the comments below. Au revoir.