Home Assistant Setup on Raspberry Pi
I’m loving Home Assistant. If your home has a lot IOT devices or if you want to get start with Home Automation, Home Assistant is best start. For the beginners, it maybe little intimidating but it is well worth the effort. To get started you need following components.
Required Hardware
- Raspberry Pi
- Power Supply
- MicroSD card (At least 32GB)
- SDCard Reader
Download required Tools
First Download Pi Home Assistant Image Here. I’m using Raspberry Pi 3 B+ & I might want to use GPIO ports, so I’ve selected 32 bit image. Download balenaEtcher Here for flashing the image to SDCard. After Downloading the Pi Image, extract the image with any unzip utility. I’m using 7-Zip.
Flashing the image
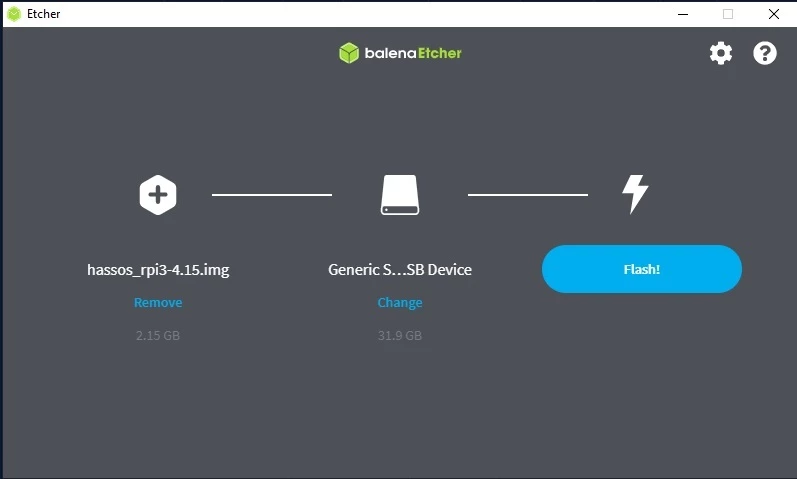
Now, install and open the balenaEtcher, Select Extracted image, select the SDCard you’ve connected to the PC and click on Flash. If asked for elevated permissions, click YES
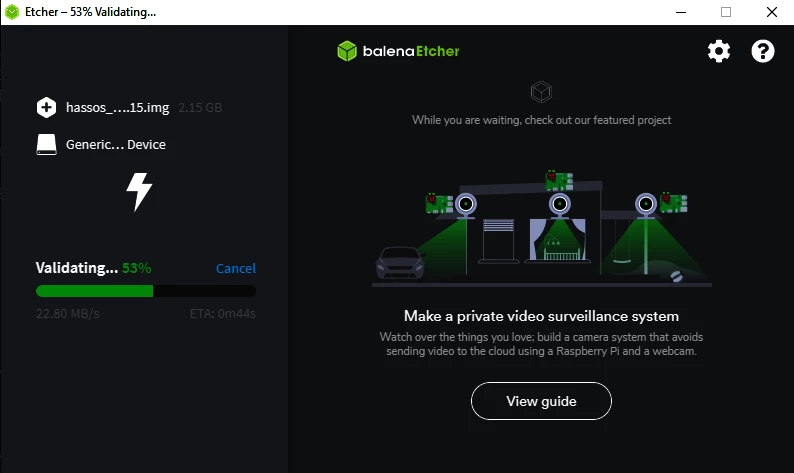
Flashing
Flashing Done
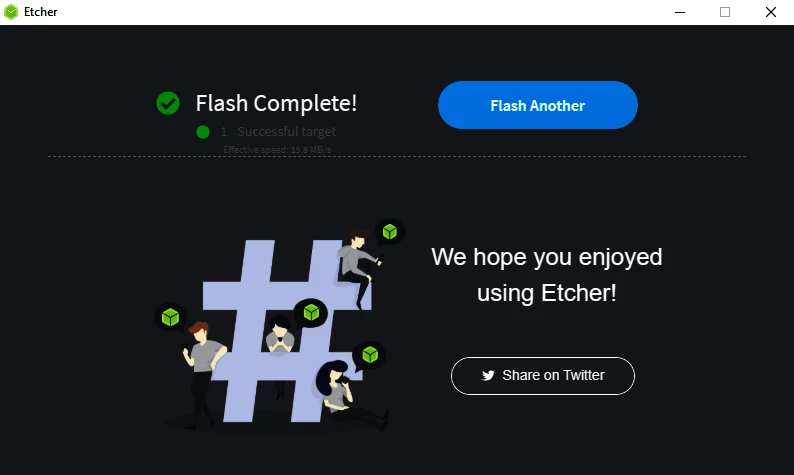
Once it’s completed flashing the image, Eject the SDCard and insert it to Raspberry Pi 3. Now, we need a way to connect our pi to network.
Network Configuration
First Create a Directory CONFIG and then network. Now, create a file name my-network without any extension.Based the network type you preferred copy the following content and add that to the file you just created.
Wired Ethernet connection with DHCP Enable
1
2
3
4
5
6
7
8
9
10
11
[connection]
id=my-network
uuid=d55162b4-6152-4310-9312-8f4c54d86afa
type=802-3-ethernet

[ipv4]
method=auto

[ipv6]
addr-gen-mode=stable-privacy
method=auto
Wired Ethernet connection with static IP
1
2
3
4
5
6
7
8
9
[connection]
id=my-network
uuid=d55162b4-6152-4310-9312-8f4c54d86afa
type=802-3-ethernet

[ipv4]
method=manual
address=192.168.0.123/24;192.168.0.1
dns=1.1.1.1;8.8.8.8;
Wi-Fi with DHCP
1
2
3
4
5
6
7
8
9
10
11
12
13
14
15
16
17
18
19
20
21
22
[connection]
id=my-network
uuid=72111c67-4a5d-4d5c-925e-f8ee26efb3c3
type=802-11-wireless

[802-11-wireless]
mode=infrastructure
ssid=MY_SSID
# Uncomment below if your SSID is not broadcasted
#hidden=true

[802-11-wireless-security]
auth-alg=open
key-mgmt=wpa-psk
psk=wi_fi_password

[ipv4]
method=auto

[ipv6]
addr-gen-mode=stable-privacy
method=auto
Wi-Fi with Static IP
1
2
3
4
5
6
7
8
9
10
11
12
13
14
15
16
17
18
19
20
[connection]
id=my-network
uuid=72111c67-4a5d-4d5c-925e-f8ee26efb3c3
type=802-11-wireless

[802-11-wireless]
mode=infrastructure
ssid=MY_SSID
# Uncomment below if your SSID is not broadcasted
#hidden=true

[802-11-wireless-security]
auth-alg=open
key-mgmt=wpa-psk
psk=wi_fi_password

[ipv4]
method=manual
address=192.168.0.231/24;192.168.0.1
dns=1.1.1.1;8.8.8.8;
Note :- Replace UUID with newly generated uuid, you can generate one for free here. Note :- Replace SSID and psk with your wire access point name, password and static IP to desired one based on your network setup.
Setup
Open your browser of choice and enter the IP address of the Pi. If everything went well and device connected to the network, you should see the following screen.
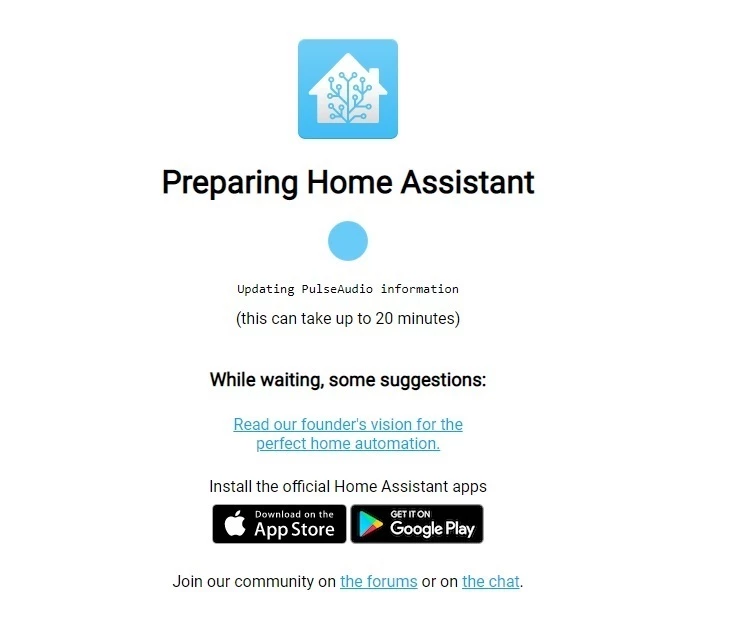
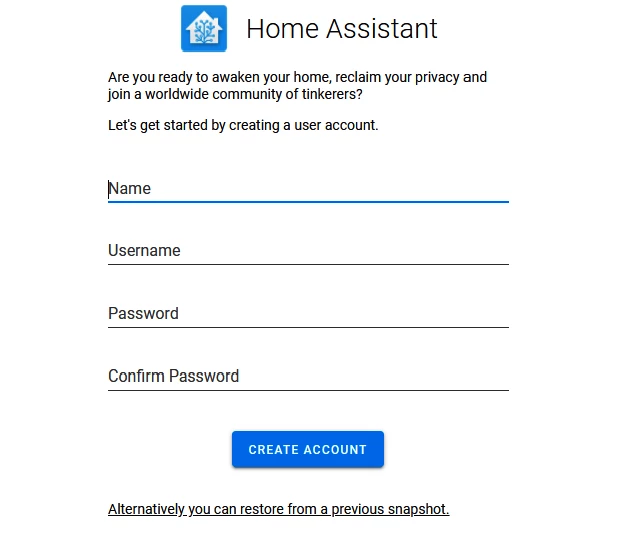
The process may take some time, Take a coffee brake. Once the process is completed, you should see account creation screen.
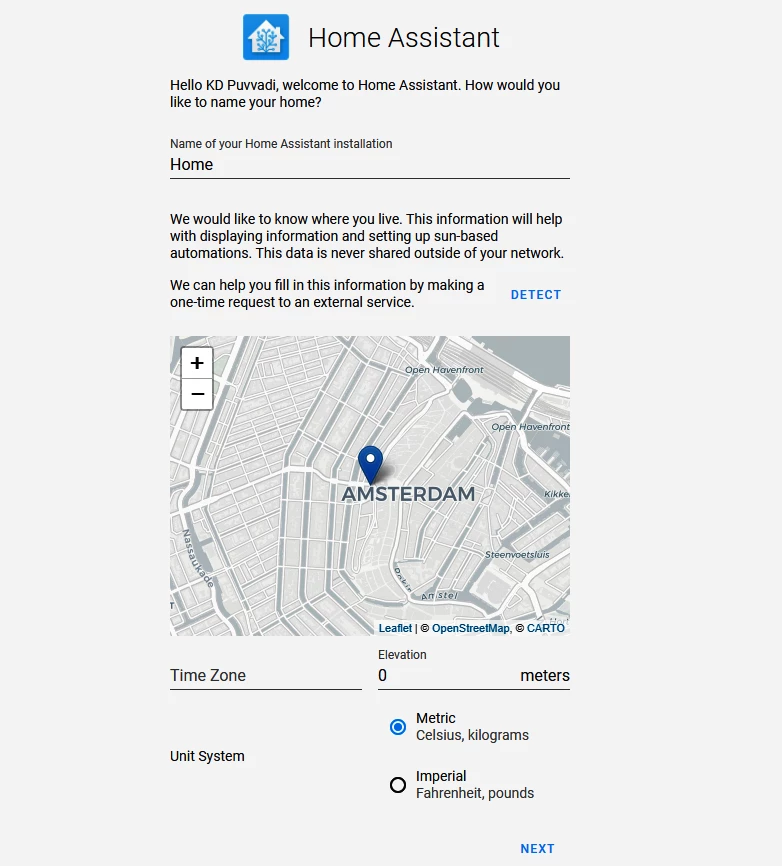
Name your Home Assistant setup, setup Home location and Select the units of choice in the following screen.
If everything went good so far, you should Home Assistant Dashboard aka Lovelace. Setup of the Home Assistant on Pi is completed.
Conclusion
I like to think Home Assistant a Swiss Army Knife. Possibilities are endless. If properly configured, you can control all your smart home from anywhere in the world with touch of the button securely. In coming days I’ll write about integrating different IOT and goodies to Hass. Keep watching this space. Au revoir.